Microscopy & 3D-Scanner
Discovering material structures
Through our imaging analysis techniques, we explore the micro- and nanostructure of materials. Our tomographic capabilities even give us a three-dimensional insight into the structure. Thanks to our application-oriented and industry-related research activities, we can draw on commensurate experience. This includes preparative sample preparation and computer-assisted evaluation as well as post-processing.

Contact: Annika Pfaffenberger
Phone: +49 921 55 7503
E-mail: annika.pfaffenberger@uni-bayreuth.de
Electron source tungsten cathode
Accelerating voltage [kV] 0,5 bis 30
Resolution in SE image [nm] 3 at 30 kV, 15 at 1 kV
Magnification range x5 to x300 000
Specimen stage (travel) [mm] X: 80, Y: 40, Z: 6 to 45
Detectors
Secondary and backscatter electron detector
Resolution [nm] 0.2 (line), 0.29 (point), at 200 kV
High voltage [kV] 120; 160; 200 (variable)
Nominal voltage [eV] 0 – 2500 (step size 0.2 eV)
Cathode thermal LaB6 cathode
Koehler radiation system four lenses
Focus length [mm] 3
Spherical aberration constant cs [mm] 2.2
Chromatic aberration constant cc [mm] 2.2
Astigmatism [µm] <1
Smallest focusing step [nm] 15
Spectrometer type Omega
Isochromatic [eV] Energy resolution (reduced irradiation) ± 0.65
Distribution [µm/eV] 0.8 (energy distribution plane), 0.3 (image plane)
Image recording
Negative film (3,25″ x 4″), Gatan Ultrascan 1000 CCD camera with Gatan GMS image processing

Magnification 6,3 to 40 fach
Features
Digital and analogue image processing
Test method
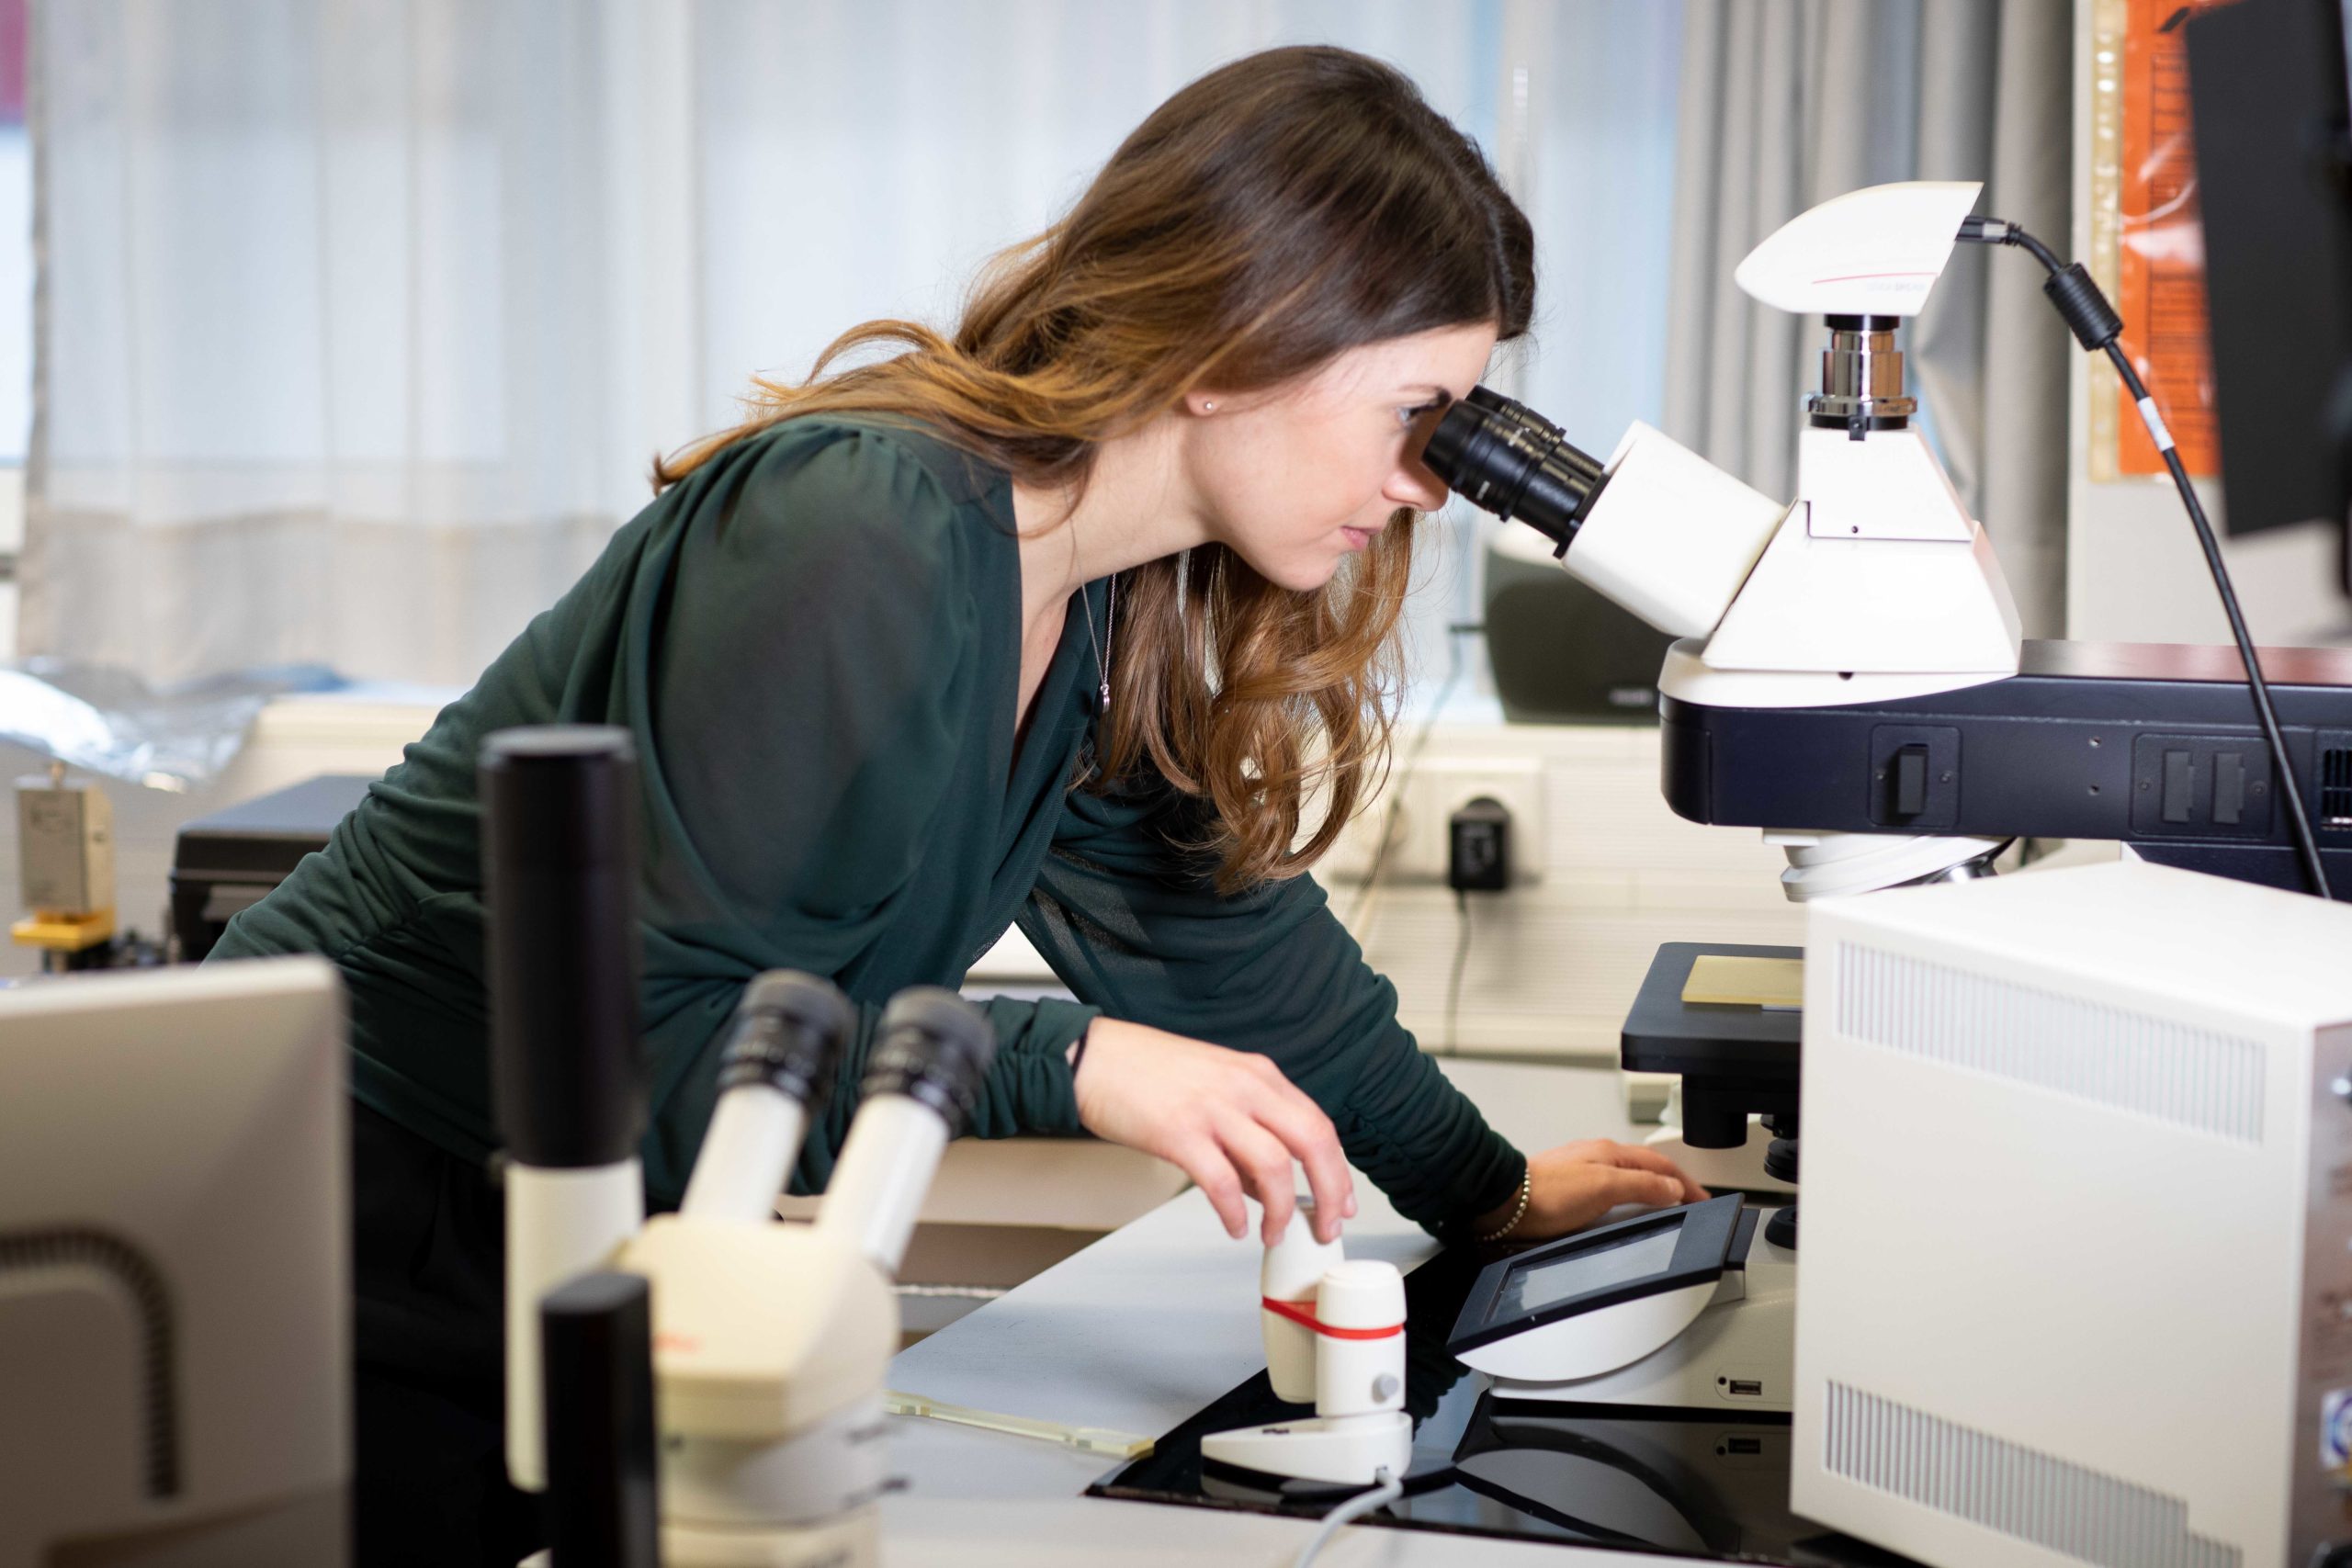
Surface topography, measuring microscope
Automated microscope with high-resolution Leica DFC450 digital camera and LAS software for image processing.
Objectives: 5x, 10x, 20x, 50x (plus 10x)
Methods: incident light (brightfield, polarisation), transmitted light (brightfield, polarisation)
Motorised high-performance focusing drive with small step size of 10 nm for capturing image stacks in Z-direction
- Visualisation of samples with high roughness with outstanding image sharpness
- Quantification of height differences on the sample surface
- Automatic combination of overlapping images through stitching function
Can be used with a Mettler-Toledo FP82HT hotstage (in combination with a 20x objective, temperature range: RT to 375 °C).
Accuracy of the hotstage: RT to 100 °C ± 0.4 °C
100 to 200 °C ± 0.6 °C
200 to 300 °C ± 0.8 °C
Phone: +49 921 55 75 03
E-mail: annika.pfaffenberger@uni-bayreuth.de
Location: University of Bayreuth
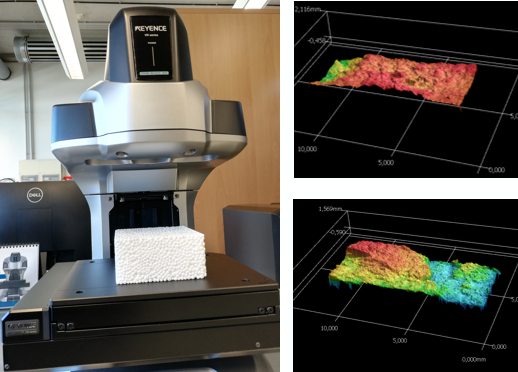
Sputter material gold
Scan size [mm] 230 x 240 x 300
Light source LED (multicolor)
Repeatability [µm] 0,5
Measurement accuracy [µm] ±2
Technology
Automated roughness detection
Field-of-view
Low: 12x, 25x, 38x, 50x
High: 40x, 80x, 120x, 160x

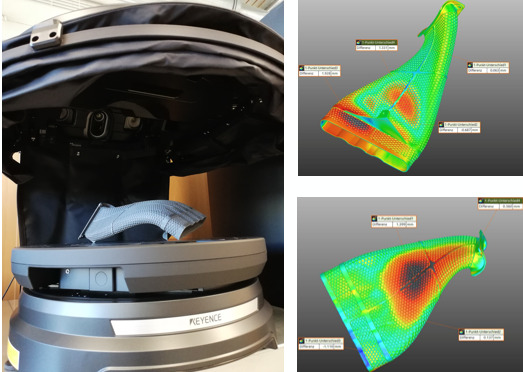
Scan size [mm] 580 x 300 x 200
Light source LED (multicolor)
Repeatability [µm] 2
Measurement accuracy [µm] ±10
Technology
Automated 3D-scanning
Rotation mechanism 360°
Tilt mechanism up to 45°
