Thermal analysis
Analysing the thermal properties of polymeric materials
In thermal analysis, we combine the latest equipment with extensive experience. Depending on the task, we can use static as well as dynamic, highly-sensitive analysis methods. The wide range of methods enables professional support in the field of scientific and application-oriented research, product development, process and production control, as well as failure and damage analysis.
Contact: Dipl.-Chem.-Ing. Ute Kuhn
Phone: +49 921 55 74 75
E-mail: ute.kuhn@uni-bayreuth.de
The MCR 702 with MultiDrive technology with two independent air-bearing motors enables the following modes of measurement:
- DMA in intensiv, bending, and compression with lower, air-bearing linear motor
- DMA in torsion with upper, air-bearing rotary motor
- Shear rheology with upper air-bearing rotary motor
- Combination of linear drive and rotation motor in one test
- SMT – Mode (“Separate Motor Transducer” )
- EC – Mode: Operation with only one motor
Linear actuator for DMA in tension, bending, and compression
Force [N] 0.0005 – 40
Path amplitude oscillation [µm] +/- 0.01 – 4500
Temperature range [°C] -130 – 600 (convection oven)
Heating rate [K/min] 35
Cooling rate [K/min] 30
Rotary operation for DMA in torsion and rheology
Maximum angular frequency ω [rad/s] 628
Angular velocity [rad/s] 10-9 – 314
Maximum torque [mNm] 230
Min. torque rotation [nNm] 1
Min. torque oscillation [nNm] 0.5
Torque resolution [nNm] 0.1
Normal force range [N] 0.005 – 50
Normal force resolution [mN] 0.5
Temperature range [°C] -130 – 450 (convection oven)
Features
Plate-plate (PP25), solid-state fixture (SRF5), cantilever (CTL35), compression (PP25), three-point bending (TPB10/TPB20/TPB40)
Software
RheoCompass
Location: University of Bayreuth

Maximum frequency [Hz] 100
Torque [mNm] 0.2 – 200
Maximum force [N] 150
Angle range [mrad] 0.05 – 500
Temperature range [°C] –150 … 600
Number of units 2
Features
Solid state terminals (rectangular geometry)
Measuring mode
Torsion
Software
TA Orchestrator
Location: University of Bayreuth
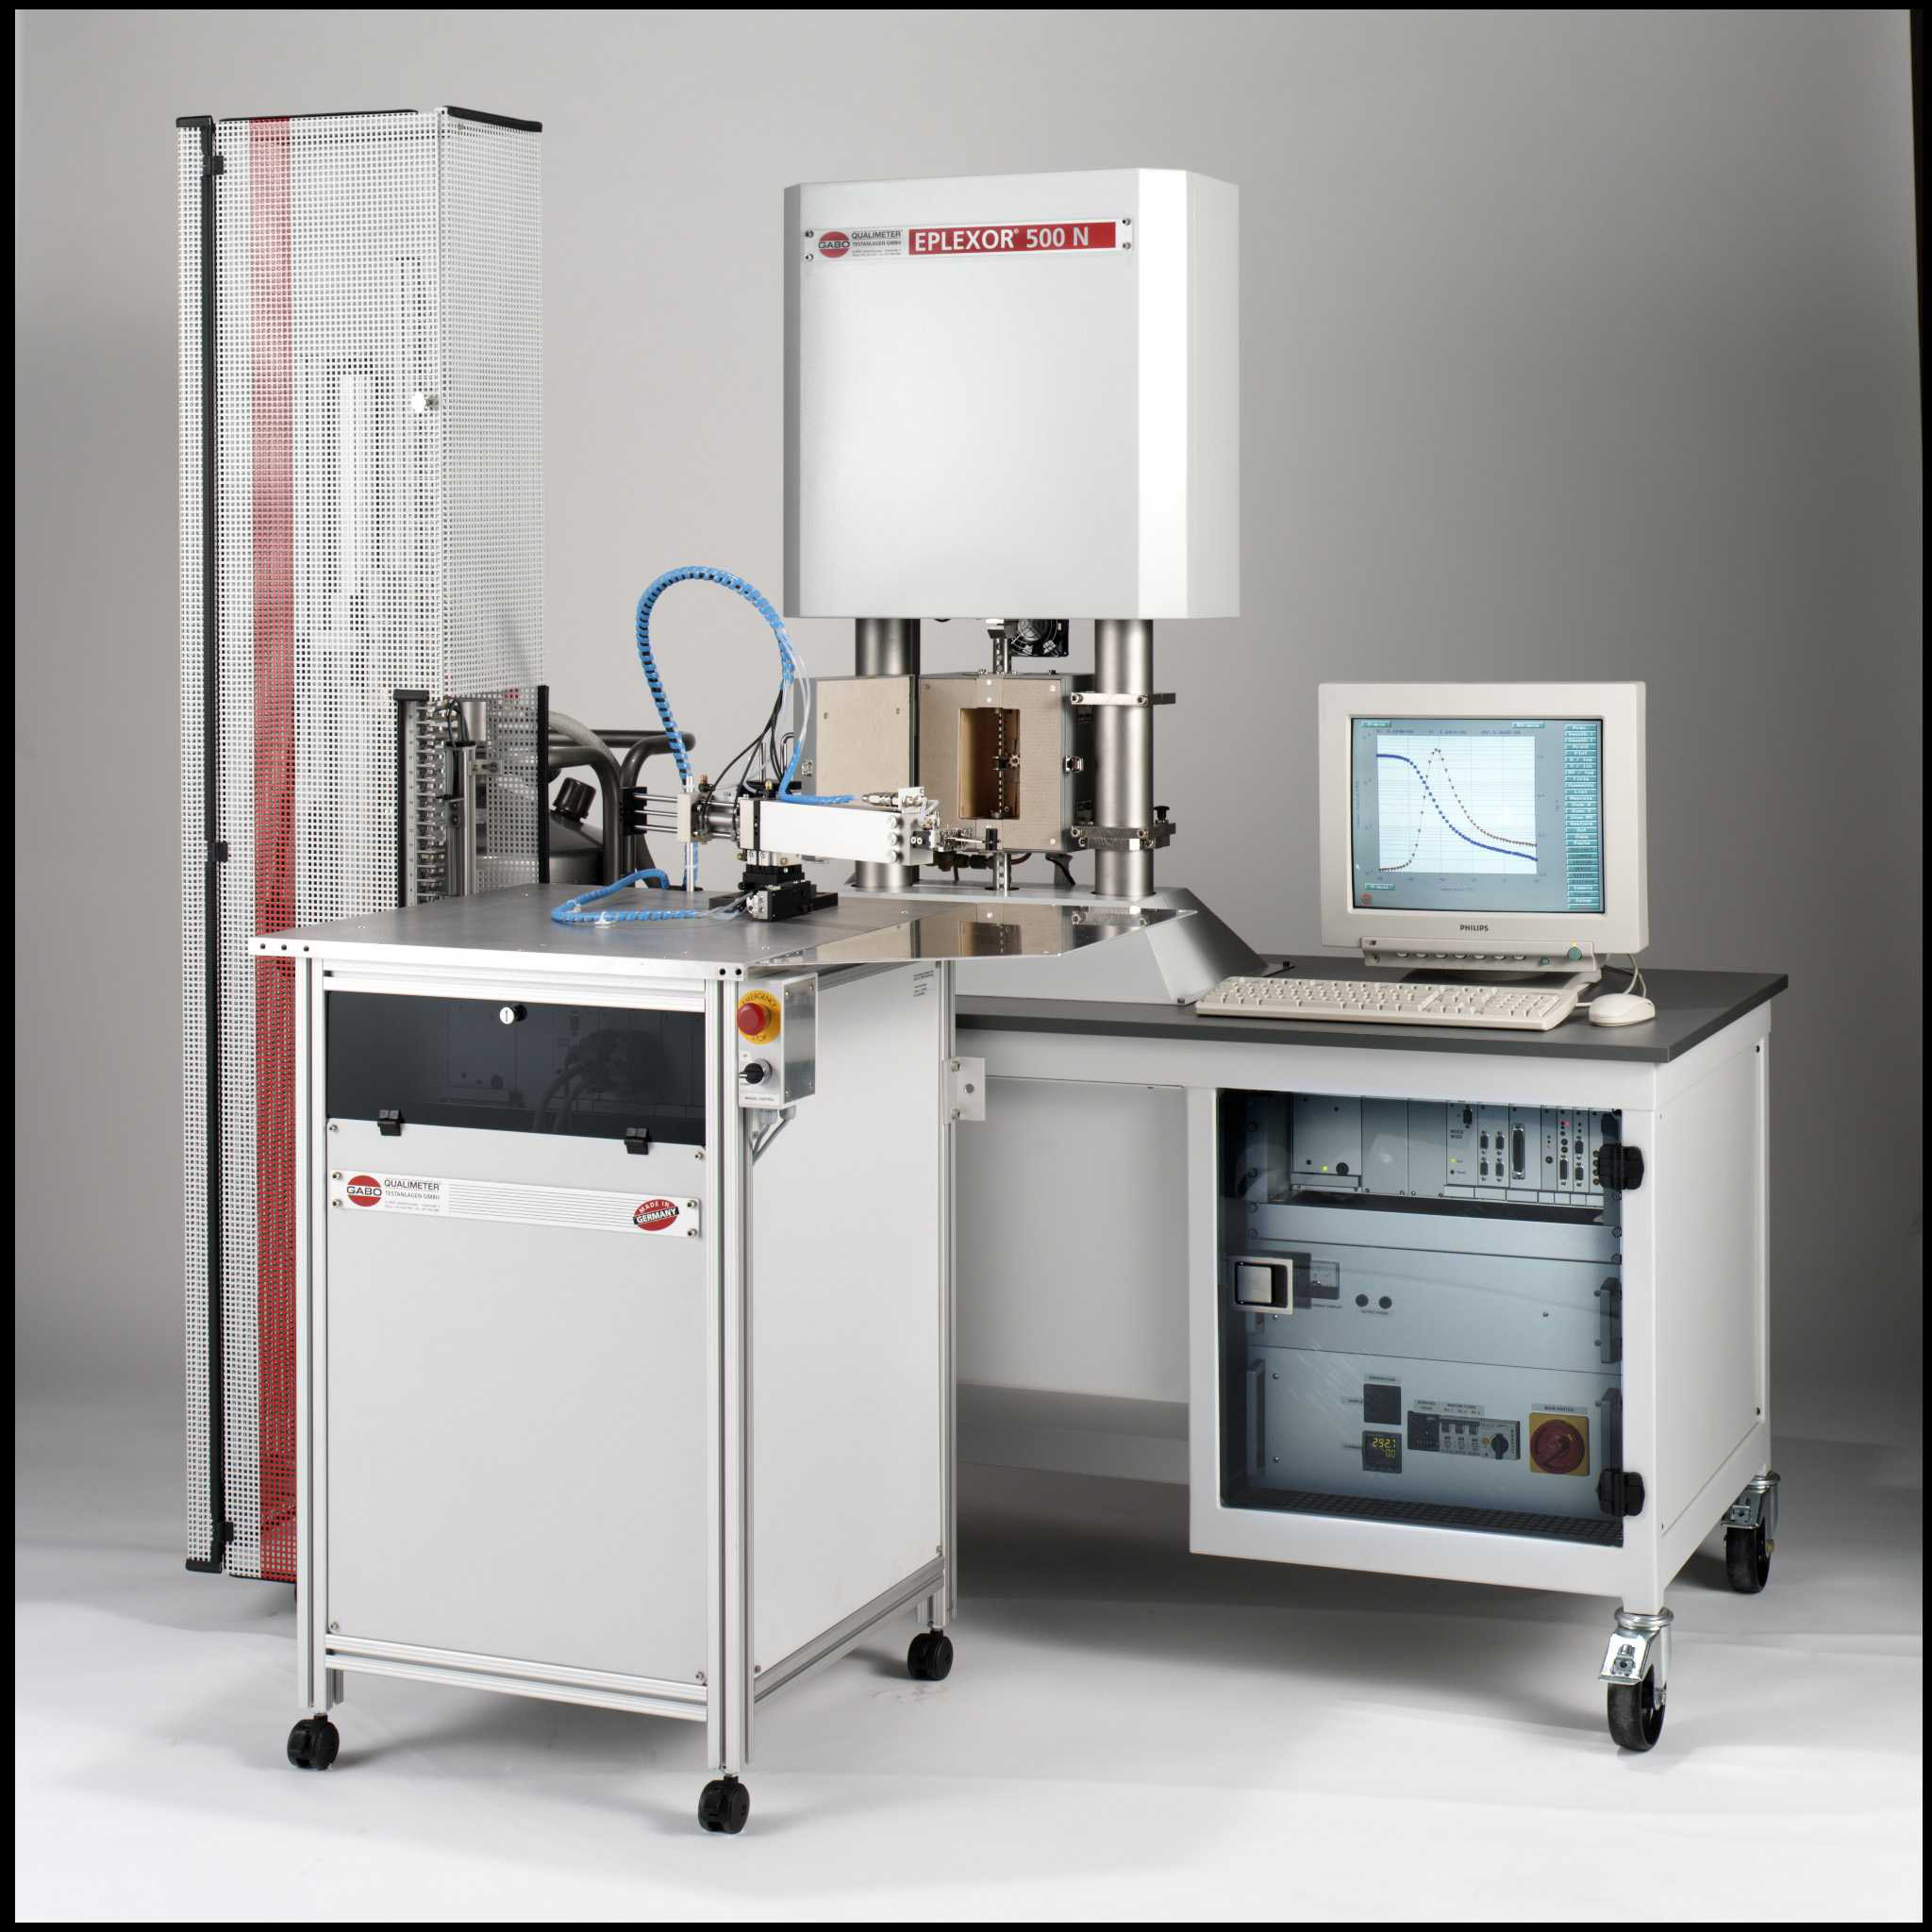
The Eplexor 500N combines dynamic mechanical thermal analysis with dynamic material testing
The system works with two independent drives for applying the static and dynamic load.
Electrodynamic oscillator system [N] 500
Dynamic force transducer [N] 150 and 500
Static strain [mm] up to 35
Dynamic strain [mm] +/- 1.5 and +/- 6
Temperature range [°C] -150 …. 500
Sample collector
Variable for compression, tension, bending
Testing
Ageing and immersion test for 3-point bending
Software
Evaluation frequency sweep, temperature sweep, time sweep, etc.
Software module
- Determination of numerical master curves (statements on material behaviour)
- Hysteresis analysis
Property of Neue Materialien Bayreuth GmbH
Location: University of Bayreuth
Temperature range [°C] -180 – 550 (+/- 0.1 )
Signal time constant [s] < 1.5
Measuring range [mW] +/- 500 (+/- 0.04µW)
Cooling rate (RCS) [°C/min] 100 (550 °C to 300 °C), 20 (550 °C to -20 °C), 2 (550 °C to -90 °C)
Cooling rate (LNCS) [°C/min] 100 (550 °C to 200 °C), 20 (550 °C to -100 °C), 2 (550 °C to -180 °C)
Purge gas
Nitrogen, Helium
Features
Sample changer for 50 samples
Software
Advantage Software
Location: University of Bayreuth
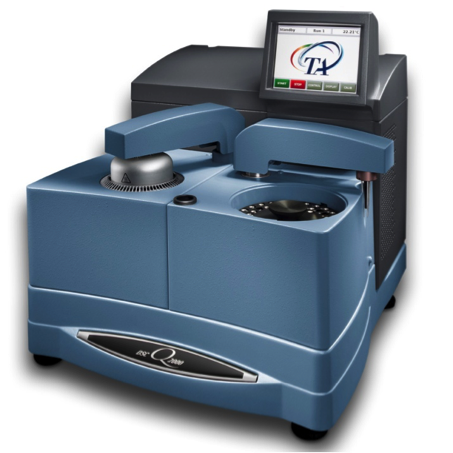
Temperature range [°C] -80 – 700
Signal time constant [s] < 1.7
Measuring range [mW] +/- 350 (+/- 0.04µW)
Heating rate [°C/min] 0.02 – 300
Cooling rate [°C/min] 0.02 – 50
Purge gas
Nitrogen, oxygen, air
Features
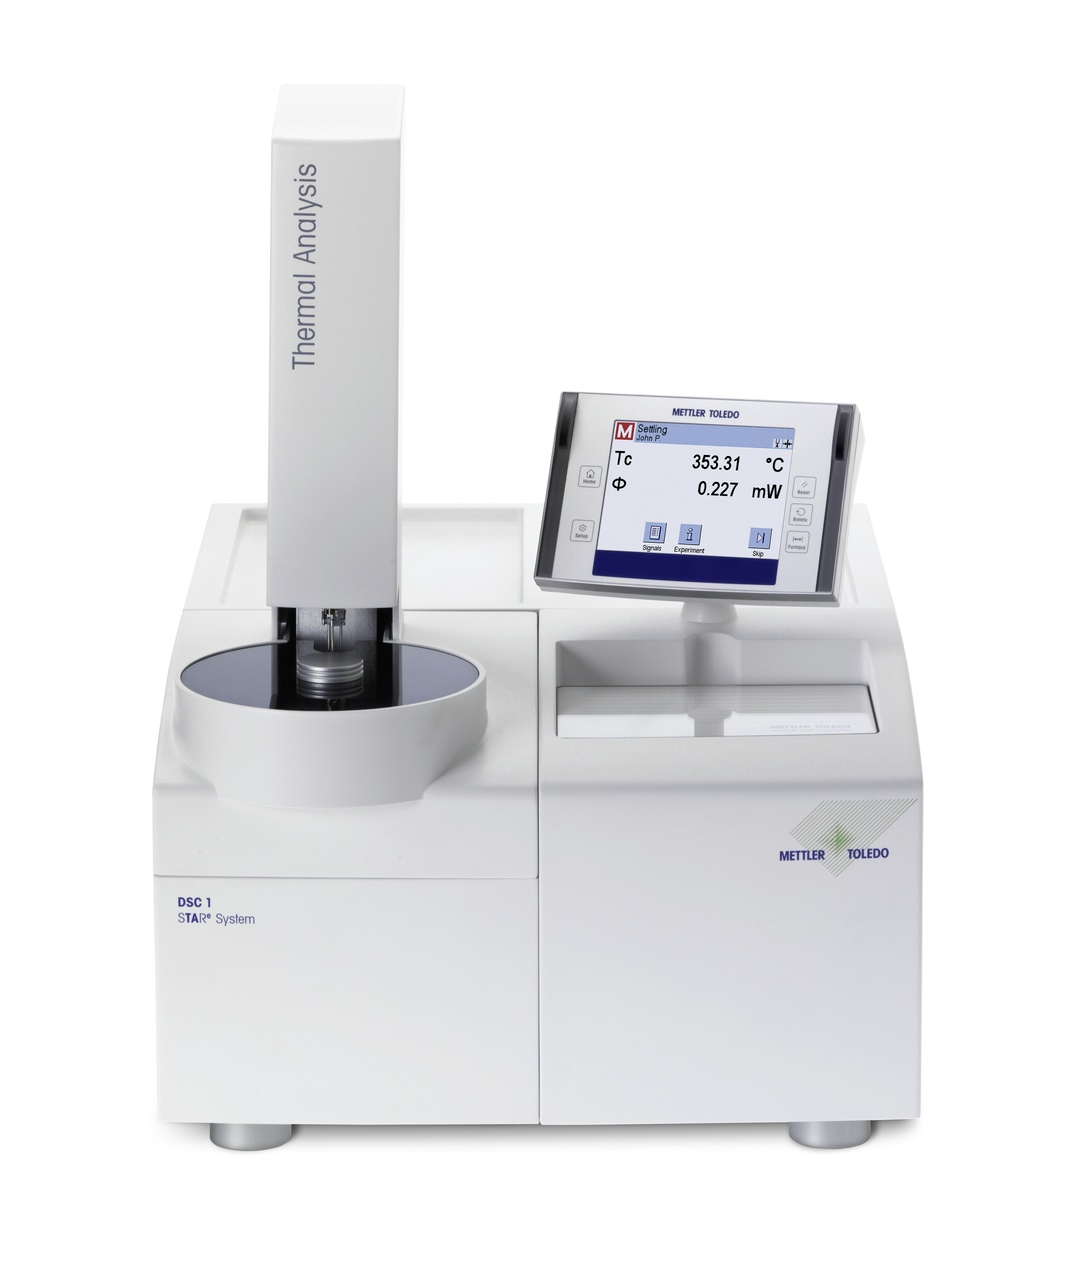
SDTA sensor: ceramic sensor FRS5, sample changer for 34 samples
Software
STARe
Location: University of Bayreuth
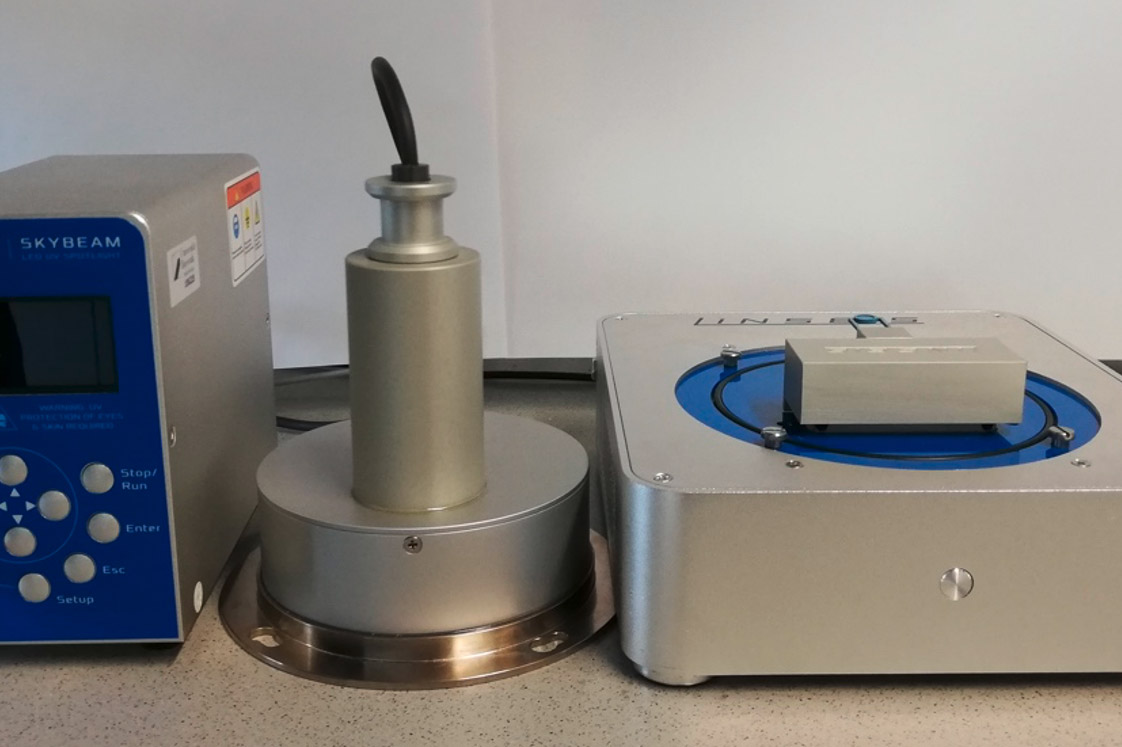
Temperature range [°C] 25 – 600 (+/- 0.2 )
Resolution [µW] 0.03
Measuring range [mW] +/- 2.5 – +/- 250
Heating rate [°C/min] 0.001 – 300
Cooling rate [°C/min] 0.001 – 300
UV LED lamps [nm] 365 and 405
UV irradiance (365 nm) [mW/cm^2] 20 – 4400
UV irradiance (405 nm) [mW/cm^2] 35 – 2100
Purge gas
Inert, (other gases possible)
Chip sensor
All the necessary parts of a DSC installed (oven, sensor, and electronics).
Software
Chip DSC and Linseis TA evaluation
Location: University of Bayreuth
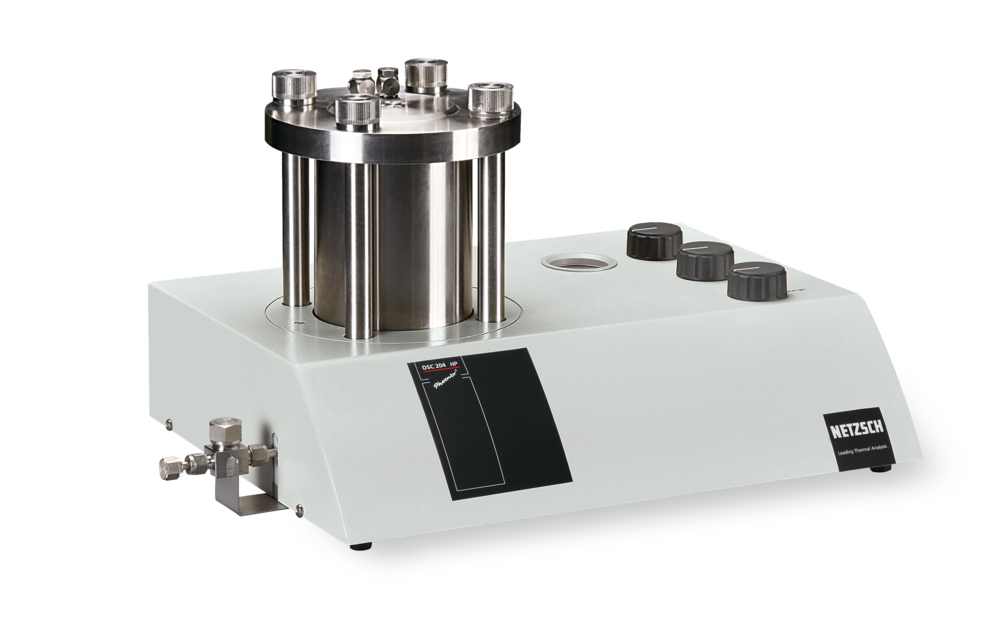
Pressure range [MPa] vacuum up to 15 (150 bar)
Pressure accuracy
0%
Temperature range (depending on gas type) [°C] – 150 – 600 (at 1 bar), 90 – 600 (at 50 bar), 50 – 450 (at 150 bar)
Heating rates [K/min] 0.01 – 100
Cooling rates [K/min] 0.01 – 50
Purge gas flow [ml/min] up to 500
Test gas
Nitrogen, carbon dioxide (other gases possible on request)
Software
Proteus®
Location: University of Bayreuth
Standort: Universität Bayreuth
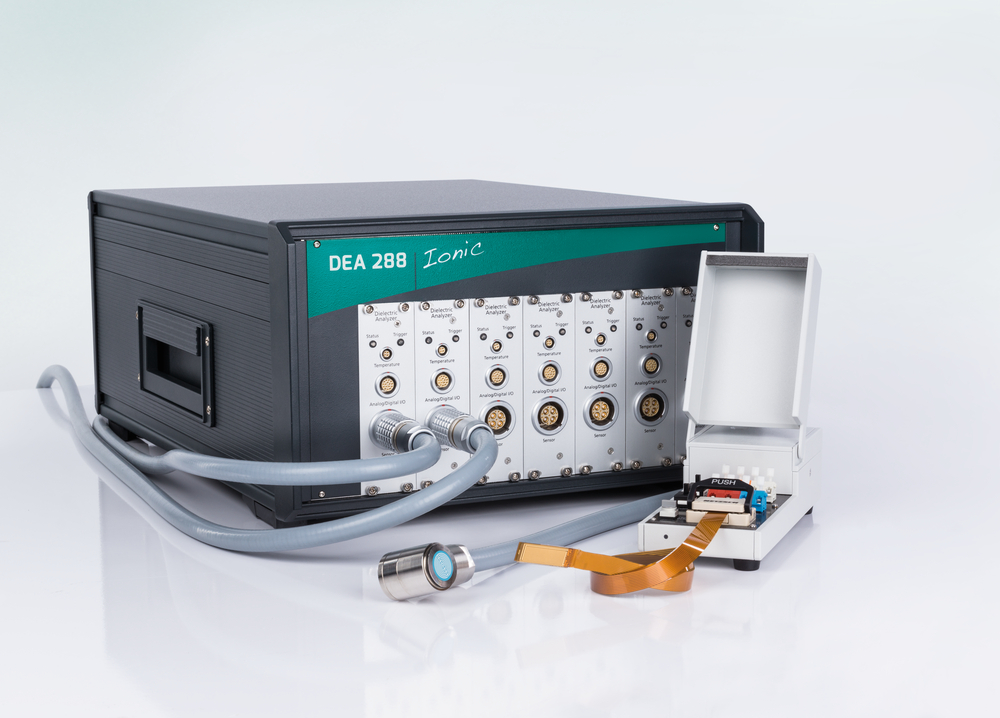
The DEA allows viscosity tracking and determination of the degree of cure for thermosetting resin systems, adhesives, paints, and fibre composites, both in a laboratory environment and under real industrial conditions.
Thermal and UV-induced curing systems can be investigated.
Frequency [Hz] 1 mHz- 1 MHz
Temperature range [°C] RT to 275
Data points [ms] possible < 5
Curing mechanism thermal, UV
Location: University of Bayreuth
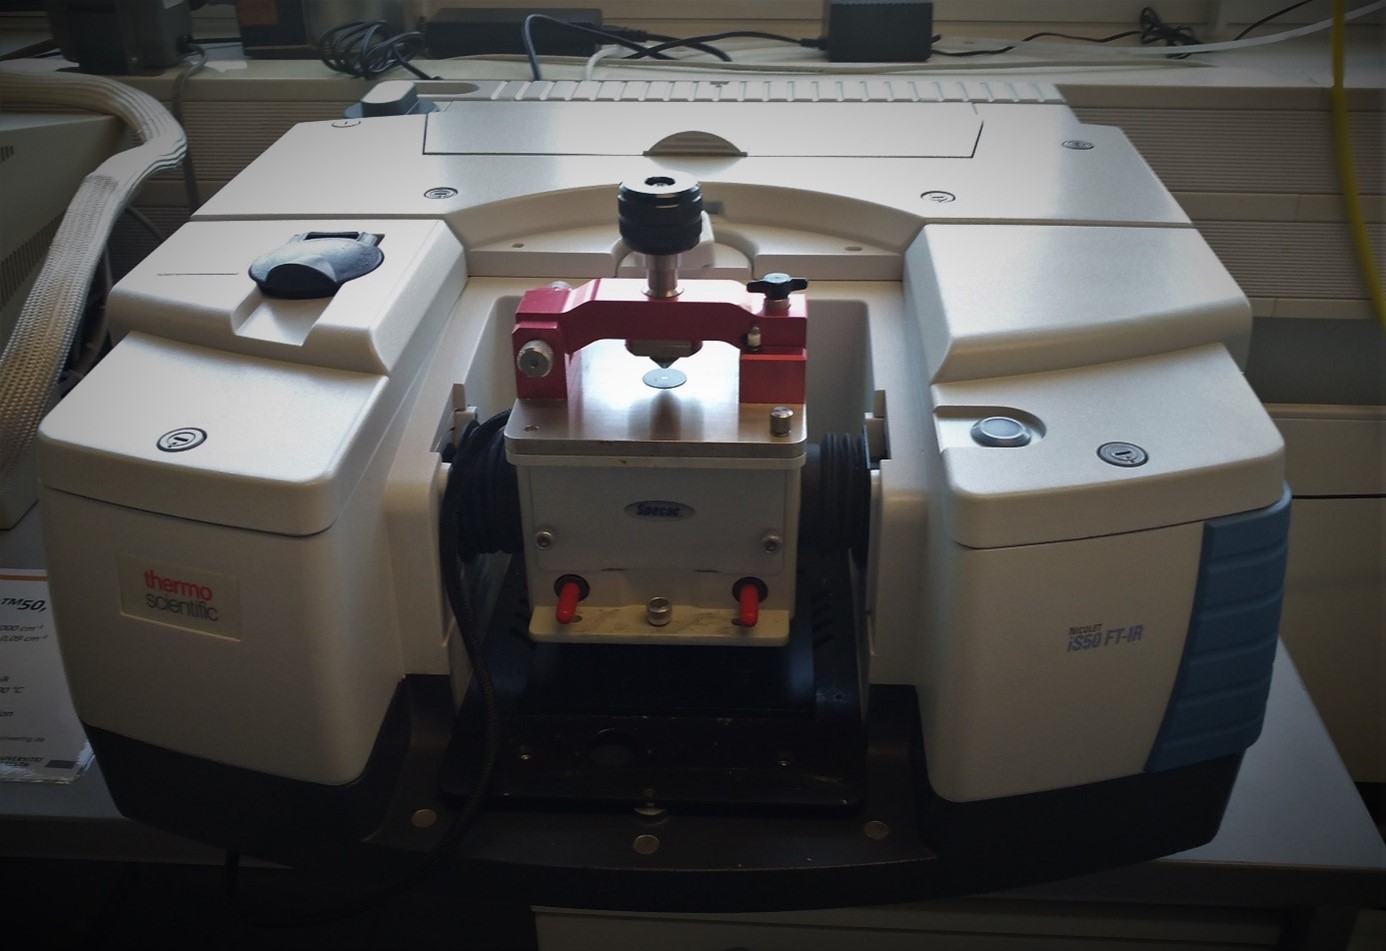
Wavelength [cm-1] 400 – 4000
Wavenumber Precision [cm-1] better than 0.0008
Optical resolution [cm-1] Less than 0.09
Beam splitter
KBr
Laser
HeNe
Accessories
- ATR-Module
- Heating stage up to 200 °C
- Measurements in Transmission
Software
Omnic Software with comprehensive database
Location: University of Bayreuth
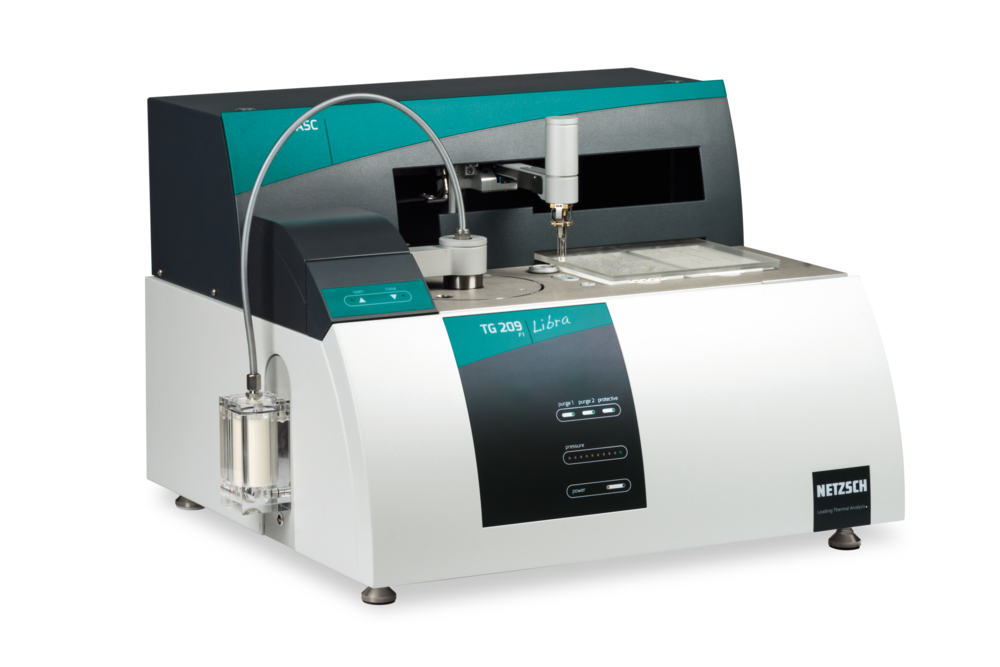
Temperature range [°C] 25 – 1100
Heating rates [K/min] 0.001 – 200
Weighing range [mg] 2000 (MT5)
Resolution [µg] 0.1
Sample volume [μl] up to 85
Temperature calibration
c-DTA®, direct measurement of sample temperature, Curie Standards
Purge gas
Nitrogen, oxygen, air
Features
- Sample changer for 180 samples
- AutoVac (automatic evacuation and filling with purge gas)
- Vacuum-tight down to 10-2 mbar (1 Pa)
- BeFlat® function (automatic correction of the baseline)
Software
Proteus®
Location: University of Bayreuth
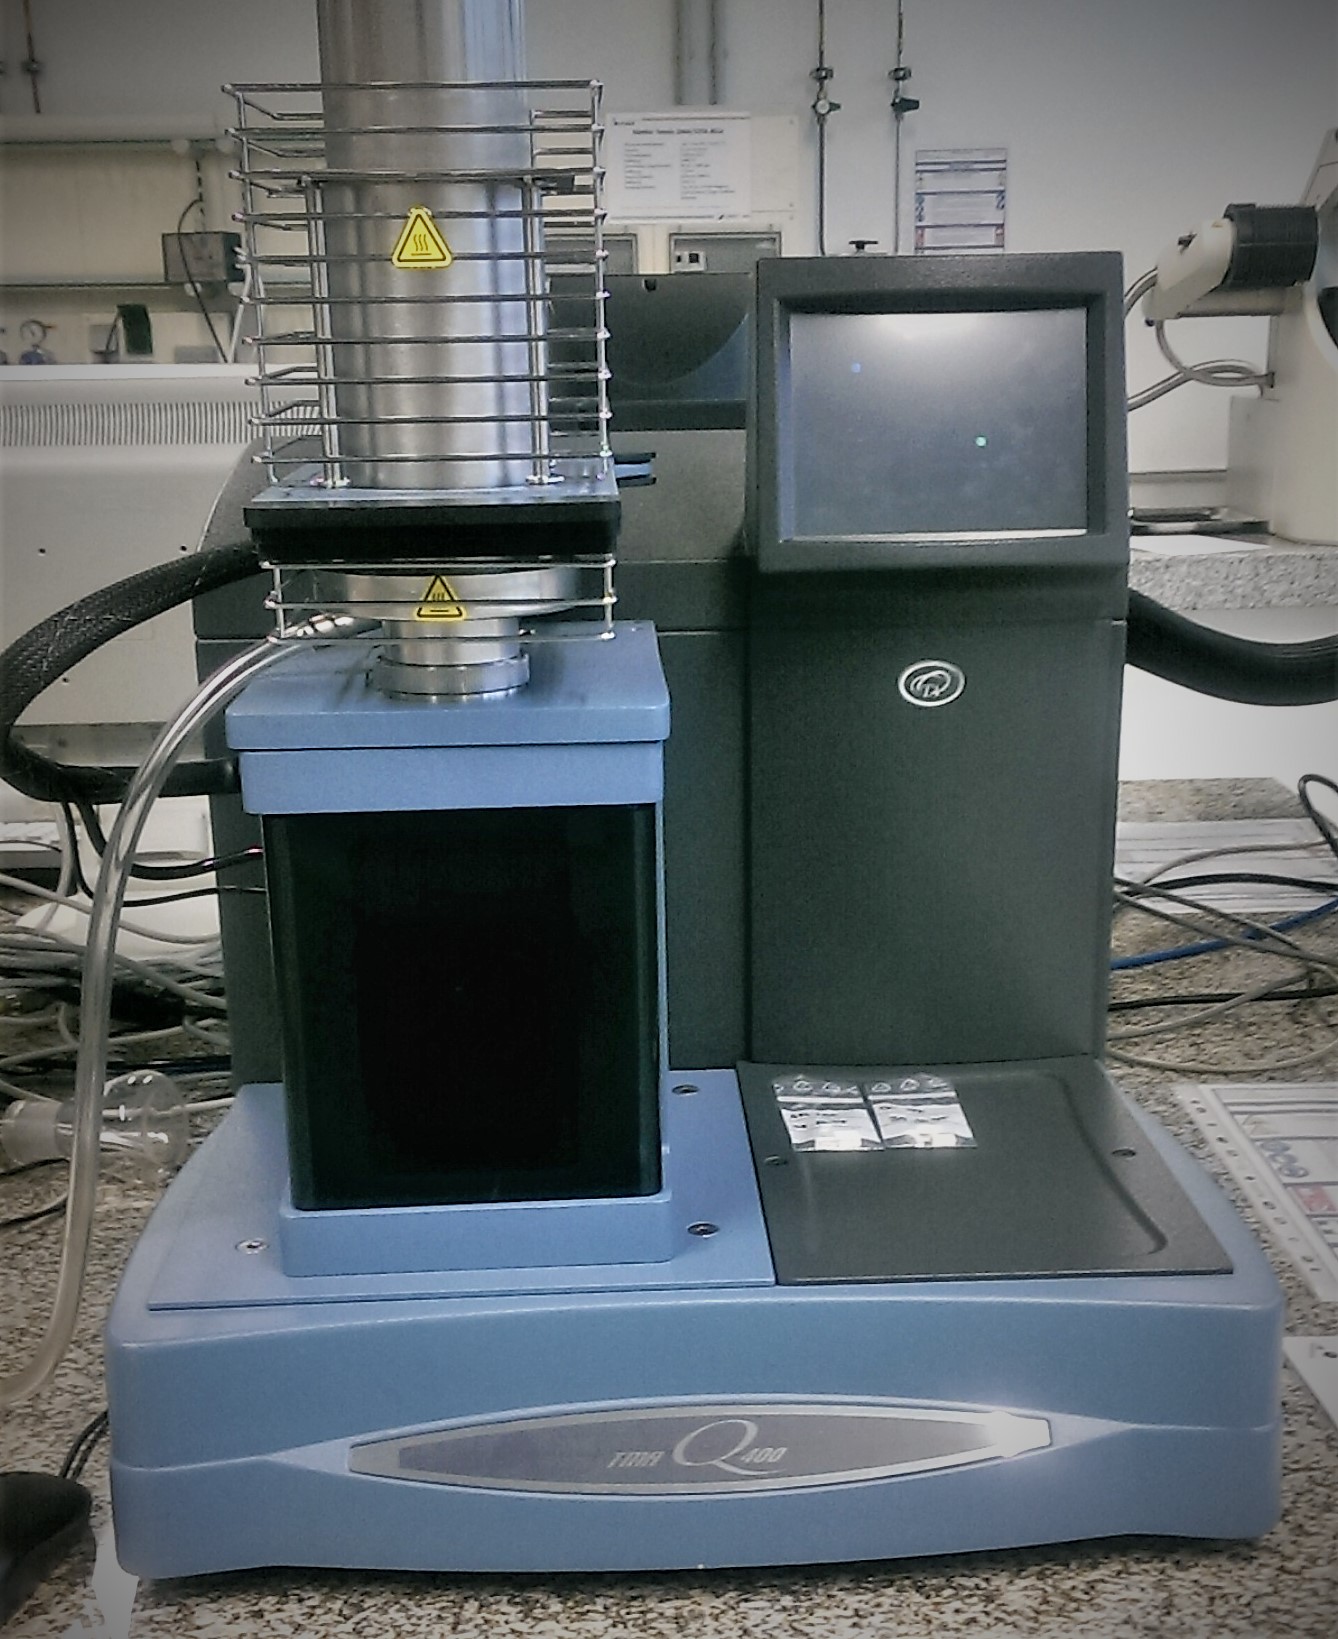
Thermomechanical analysis (TMA) determines dimensional changes of solids, liquids, or pasty materials under defined mechanical load as a function of temperature and/or time.
Temperature range [°C] -70 … 400
Maximum sample dimensions [mm] 26 x 10 mm (cube), 26 x 1 x 4.7 mm (fibre, static), 26 x 0.35 x 4.7 mm (fibre, dynamic)
Measuring accuracy [%] 0.1
Temperature accuracy [°C] 1
Measuring resolution [nm] 15
Force range [N] 0.001 … 2
Frequency [Hz] 0.01 … 2
Measurement options
- thermal expansion
- creep
- stress relaxation
- storage, loss modulus
- air, inert gas, reactive gas
Software
Advantage Software
Location: University of Bayreuth
The HFM 446 small from Netzsch works according to the stationary heat flow method. Very small heat flow sensors are installed here so that the measuring geometry can be variably adapted to the installation space.
Measuring range [W/mK] 0.007 – 2
Accuracy [%] ± 1 to 2
Repeatability [%] ± 0,25
Temperature range [°C] -10 – 90 (mean temperature)
Sample size [mm2] 50 x 50 (minimum)
Sample size [mm2] 200 x 200 (maximum)
Sample thickness [mm] 1 – 50 (automatic thickness determination)
Software
Proteus 85 (Smart mode)
Location: University of Bayreuth
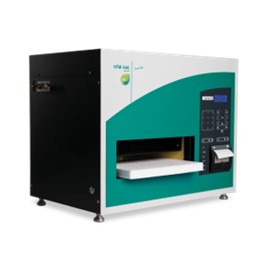
The FOX50 from Lasercomp works according to the stationary heat flow method. In addition to thermal conductivity, the thermal surface resistance of the sample can be determined using the two-thickness measuring method.
Measuring range [W/mK] 0.1 – 10
Precision [%] 3
Temperature range [°C] 18 – 100 (+/- 0.02) (average temperature)
Sample size [mm] Ø 60
Sample thickness [mm] 1 – 25 (+/- 0.025)
Software
WinTherm 50
Location: University of Bayreuth
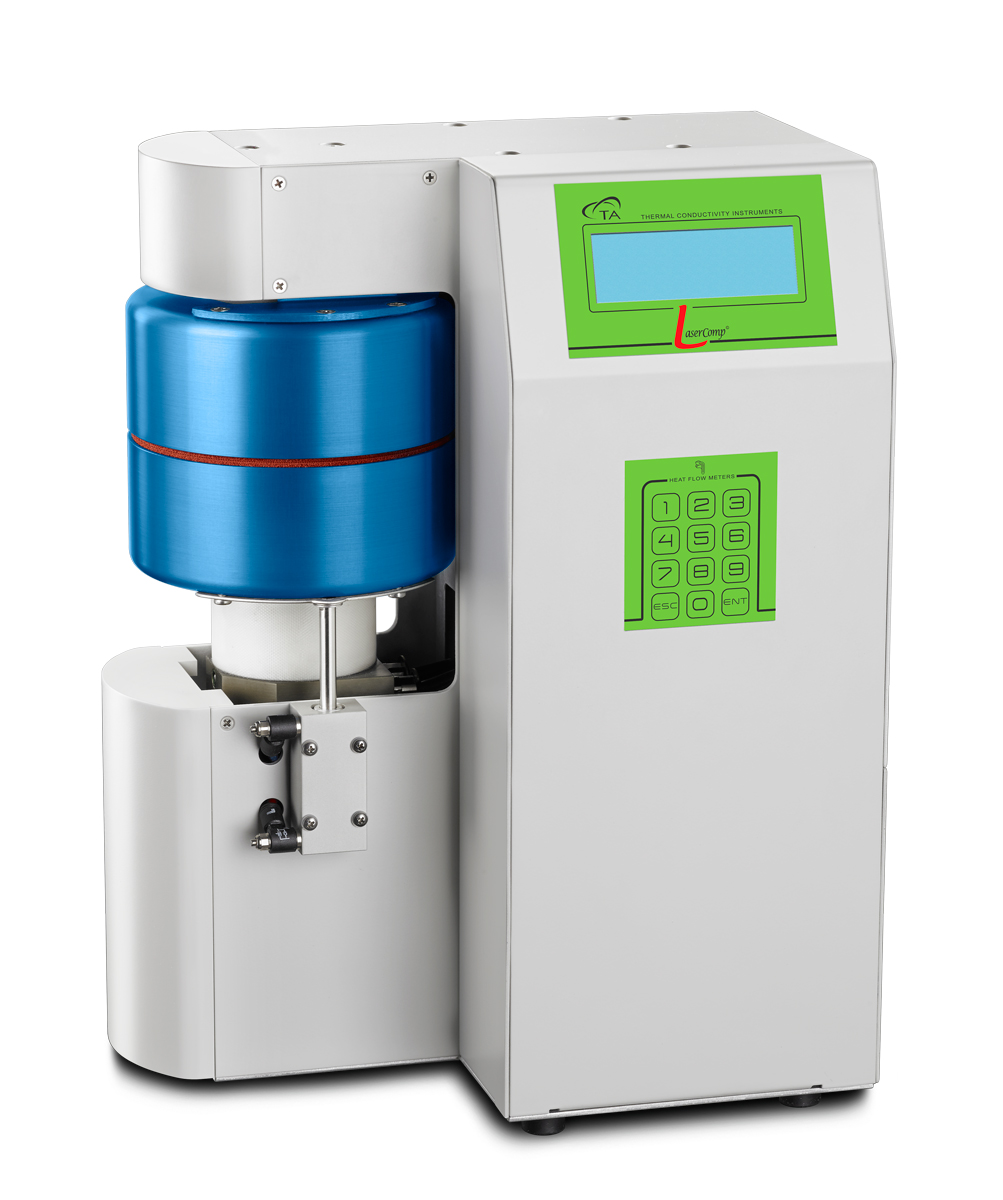
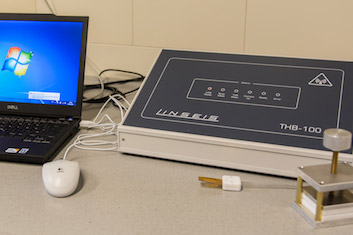
The THB 100 works according to the “heating bridge method”, which belongs to the class of transient methods for measuring the thermal transport properties of substances.
In contrast to the steady-state methods, thermal diffusivity can be determined at the same time as thermal conductivity.
Thermal conductivity [W/mK] 0.02 – 30 (+/- 3%)
Thermal diffusivity [mm2/s] 0.05 – 10 mm2/s (+/- 5%)
Temperature [°C] 25 – 200
Minimum sample size [mm] 4 x 4 x 4
Maximum sample size unlimited
Sensor type
Insulated capton sensor (40 x 20 mm), Hot – Point – Sensor (4×4 mm)
Software
Linseis Thermoanalyse
Location: University of Bayreuth
